Team Scarab Multihulls
Older Blog entries |
 Fran Sneesby lives in S.E. Queensland building multihulls for Yendys Multihulls. |
New Boat8 November 2011the Kingfisher 12 is almost finished although the beams have been a bit of a challenge. Ray wants to build a protype of his new 32 foot trimaran and needs some help. So everything will be on hold while we build this boat. The construction will be foam and polyester. We have this type of construction down pat so it should be a quick build. |
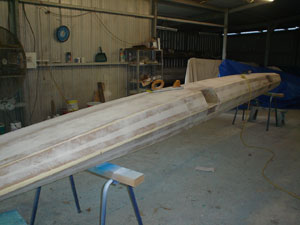
Kingfisher 1227 September 2011The Kingfisher 12 is progressing well. The moulds for the main hull, floats and all the other bits are finished. The beams are also moulded. It has been difficult to work out how to build the beams so they are strong enough, fold so the boat can fit on a box trailer, and keep the weight down. As soon as I have some parts finished I will post some pictures. This morning as I was leaving the shed for smoko I heard a Kingfisher nesting in the tree outside. This has to be an omen. |
New web site24 September 2011It's been a long time since I wrote a blog but things have been pretty hectic around here and I didn't realise how long it has
been. The Kingfisher 12 is about 90% finished and I should have some pictures soon. We started a new web site as a companion site
to this one. Team Scarab site is about multihull boat plans and we wanted a site to be about building boats and boats for sale. We
currently have 2 boats for sale, the Scarab 22 and the Scarab 18. These boats are on new site,
www.yendys.com.au hopefully there will be more interesting stuff on the site as we
build more. |
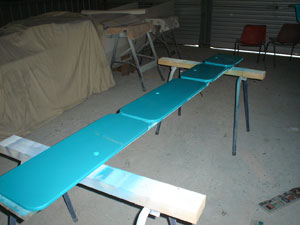
Scarab beams25 June 2011The beams are all finished except the trimming. This project will have to be on hold for a while. This was always meant to be a part time job and now it's back to work.
The kingfisher 12 is the same length as the Scarab 350 but with rounded hull and folding beams. The kingfisher 10 is the same boat as the old Aussie 3m. This boat was designed to meet the International 3m rules. More on this project soon and hopefully some pictures. |
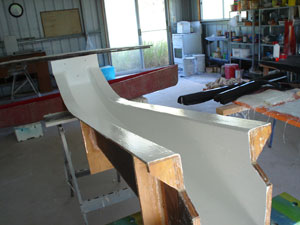
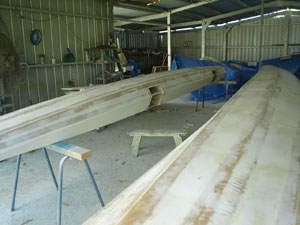
Scarab 21 Beams28 May 2011Because this boat has Scarab 22 floats and modified Scarab 650 main hull, I decided to use Scarab 22 beams shortened slightly to allow the boat to remain within legal towing limits when folded. I used a beam mould that has produced many Scarab 22 beams. It is still in pretty good shape. After cleaning and waxing the mould, gelcoat was applied. The boat will be painted but the gelcoat prevents the bubbles that form in the resin to make pin holes that are a chore to fill later. I use unwaxed polyester laminating resin so the beam does not have to be made in one go. If the first layer of CSM and one other layer are applied and left until the next day then shrinkage is reduced. All the rest of the layers can be added in one go (although I prefer to take 3 days) and it doesn't seem to noticeably increase the shrinkage.
|
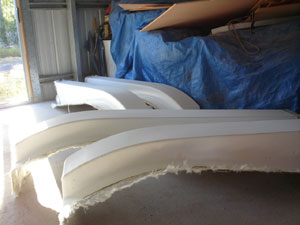
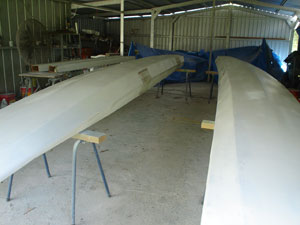
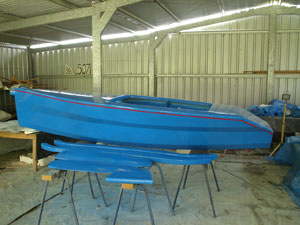
Scarab 2117 May 2011The floats were sanded and filled. Then they were painted with hi-build epoxy primer.
|
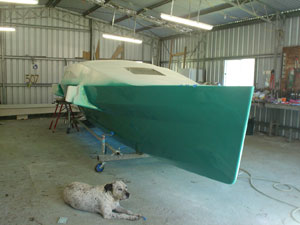
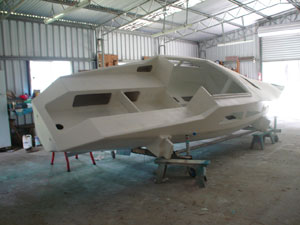
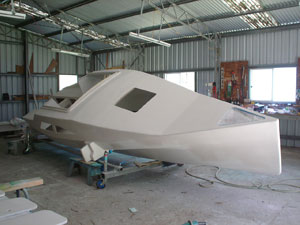
New BoatAfter building boats for Team Scarab for the last 10 years I’ve decided I want to build a boat for myself. The Scarab 650 has always been my favourite size and shape of a trimaran.There were a couple of Scarab 22 floats of gathering dust in the back of the shed that were left when a customer changed his mind about having a boat built. So my plan was to attach them to a 650 hull. This was not a straight forward job as the boat wouldn’t fold with the higher volume floats. I cut the floats down to 21 feet and moved the beam attachment positions. Then I talked Ray into modifying the 650 design to accommodate the new floats. The beams will be built using the mould we use for 22 beams. The main hull will be slightly narrower while keeping the general 650 shape. I prefer the shape of the 650 over the 22 because it is more feminine. The windows are larger and the shape is generally more round on the cabin top.
|
Scarab exterior paint finished27 April 2011My part of the painting is done the finishing touches, interior and fitting will be done by Ray. See his blog. |
More Scarab 22 bits19 April 2011The pop-top is the last of the bits to be painted.
|
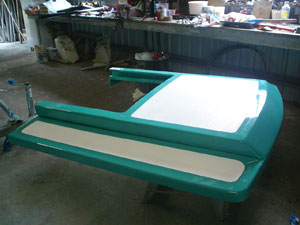
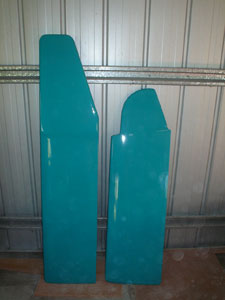
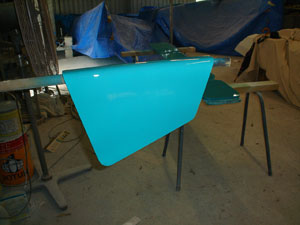
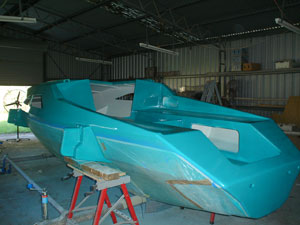
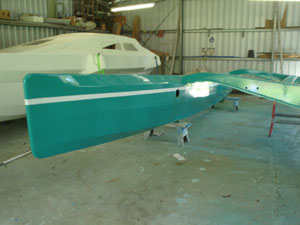
Scarab 22 bits5 April 2011The main hull and floats have been painted now all the bits are finished. Rudder and centreboard, rudder head and cockpit locker doors.
|
Scarab 22 non-skid19 March 2011I chose to spray the non-skid rather than use a commercial non-skid that can be applied with a brush or roller. A couple of coats of paint was applied and while still wet the glass beads are sprinkled liberally over the area. The next day the excess beads are brushed off and several layers of paint are applied over the beads. It's easier to use commercial non-skid but I always do things the hard way.
|
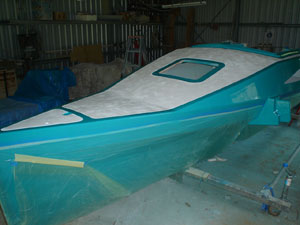
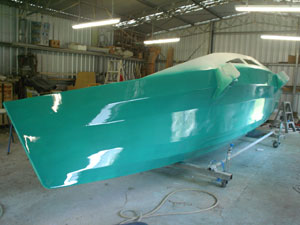
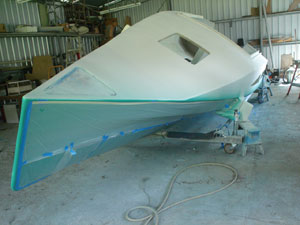
Scarab 221 March 2011The boat was turned and the bottom of the hull masked. Then the deck, cockpit and cabin sides were painted. It was not necessary to paint where the non-skid will be applied.
|
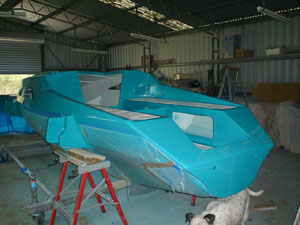
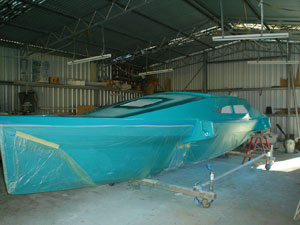
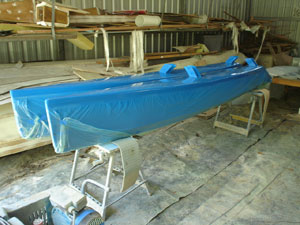
More Scarab 2215 February 2011If you want to spray paint a boat and leave no masking lines then there are a couple of different ways to tackle the job. We wanted to paint the whole boat the same colour even the non-skid. It is difficult to paint the bottom, deck and cockpit in one go. We chose to paint a stripe to hide the masking line. The boat was primed and turned on its side. After the side was painted it was covered with plastic to prevent overspray.
|
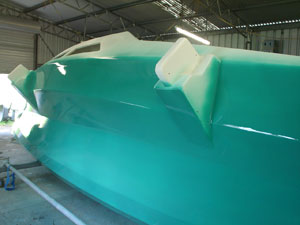
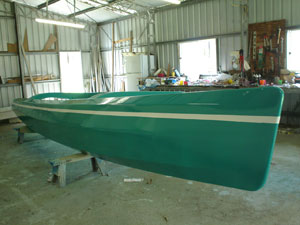
Painting Scarab 22 main hull12 February 2011The 2 floats are painted and moved out to make room to paint the main hull. The boat was primed and turned over in preparation to paint the bottom of the hull.
|
Painting again24 January 2011Have been busy finishing a Scarab 22 for paint. Finished one float and the other is ready to paint tomorrow. Boat should be ready to sell soon.
|
Painting4 january 2011We are lucky to be high enough to avoid most of the floods that are harassing the rest of Queensland. But it has rained solidly for weeks. At last we had a dry day yesterday, enough time to finish painting the Scarab 350. The floats still need a stripe on the side and the cockpit will be painted with a brush and 1 pot polyurethane.
|
