Team Scarab Multihulls
Older Blog entries |
 Fran Sneesby lives in S.E. Queensland building multihulls for Yendys Multihulls. |
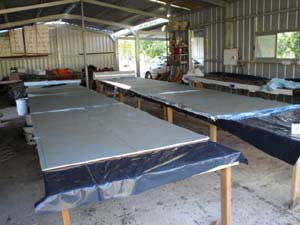
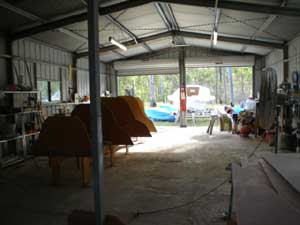
Part 1 Starting a new boatSunday, December 7, 2008This is the second Scarab 18 we have built so we already had a frame and plywood templates so we had a good start. The supplies arrived without any great drama. Luckily we have good carriers and the price of fuel is starting to drop. A glimpse outside the shed shows how blessed we are with our location.
One of the beams was also built during this time. When working I like to have as many jobs going as possible to ensure the most efficient use of time and resources. Total time so far 43 hours. |
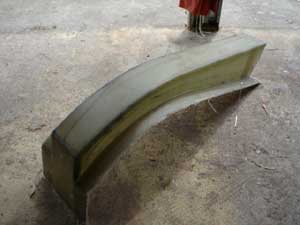
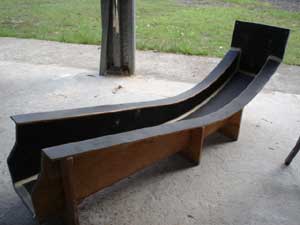
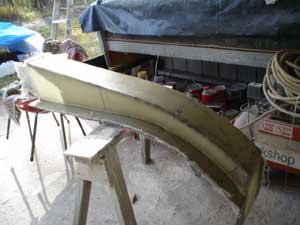
Scarab 18 folding trimaran Part 2Sunday, December 14, 2008One more beam finished (two down – two to go). I’ve been asked to provide more information and more pictures, so here we go. The mould was built using form ply. It is readily available here, is relatively inexpensive and has a smooth surface so the glass doesn’t stick (but plywood will work as well). Pilot holes were drilled as markers for the pins that hold the folding system. The mould was waxed and polished a couple of times. Then mould release was wiped on with a cloth. The pilot holes were blocked with a small bit of filler (resin and Q cells works well).
The first layer is chopped strand mat. This gives the finished beam a smooth finish. There are many consecutive layers of triaxial, unidirectional and double bias glass layered, wetted out and compacted. After a couple of days the beam can be removed after drilling the pilot holes. Because polyester shrinks it is relatively easy to remove. A couple of hardwood wedges and a wooden mallet should do. Epoxy resin doesn’t shrink as much as polyester so you may have to use water or water under pressure to remove the beam.
Total time 82 hours |
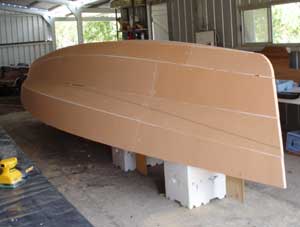
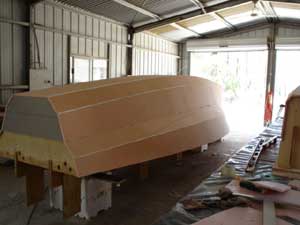
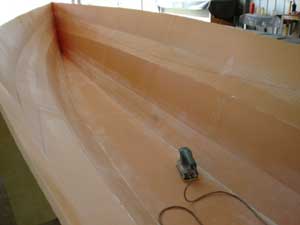
Scarab 18 folding trimaran Part 3Saturday, December 20, 2008Joints on the main-hull were filled, sanded and faired. The bottom three panels were covered with double bias glass cloth over the joints. This provides extra protection if the boat is pulled onto the beach. The other joints were taped with double bias tape. Because the bottom three panels are hard to get to when the boat is upright, they were filled and sanded.
The float frame was set up and levelled. Panels for the first float were attached as the main-hull panels with screws. Total time 119 hours |
Scarab 18 folding trimaran Part 4Tuesday, December 23, 2008The first float joints were filled, sanded and faired. The float was glassed the same way as the main-hull (double bias cloth over the bottom 3 panels and double bias tape on the other joints).
The other float was built on the frame in the same way and glassed outside. Total time 151 hours |

